Go live
Make your code ready to publish
Unfortunatley we can’t use Codepen to publish our website. For that, we need to create a real html-file. To do that you need to follow this steps:
- Create a new empty text-file in “Notes” or “Notepad” on your computer.
- Copy the code template below into that.
- Add you CSS code inside of the
<style>tag. - Add your HTML code inside of the
<body>tag. - Klick on Save as. Before saving change from ASCII in the dropdown in the right hand corner to UTF-8. Save the file as index.html
- Try and open your file in a web browser to see that it looks the way you intended.
Now you have a website locally on your computer.
<!DOCTYPE html>
<html>
  <head>
    <meta charset="utf-8">
    <meta http-equiv="Content-Type" content="text/html" charset="iso-8859-1">
    <title>My webpage!</title>
    <style>

    </style>
  </head>
  <body>

  </body>
</html>
Publish your site with GitHub pages
- Start by creating a GitHub account on www.github.com.
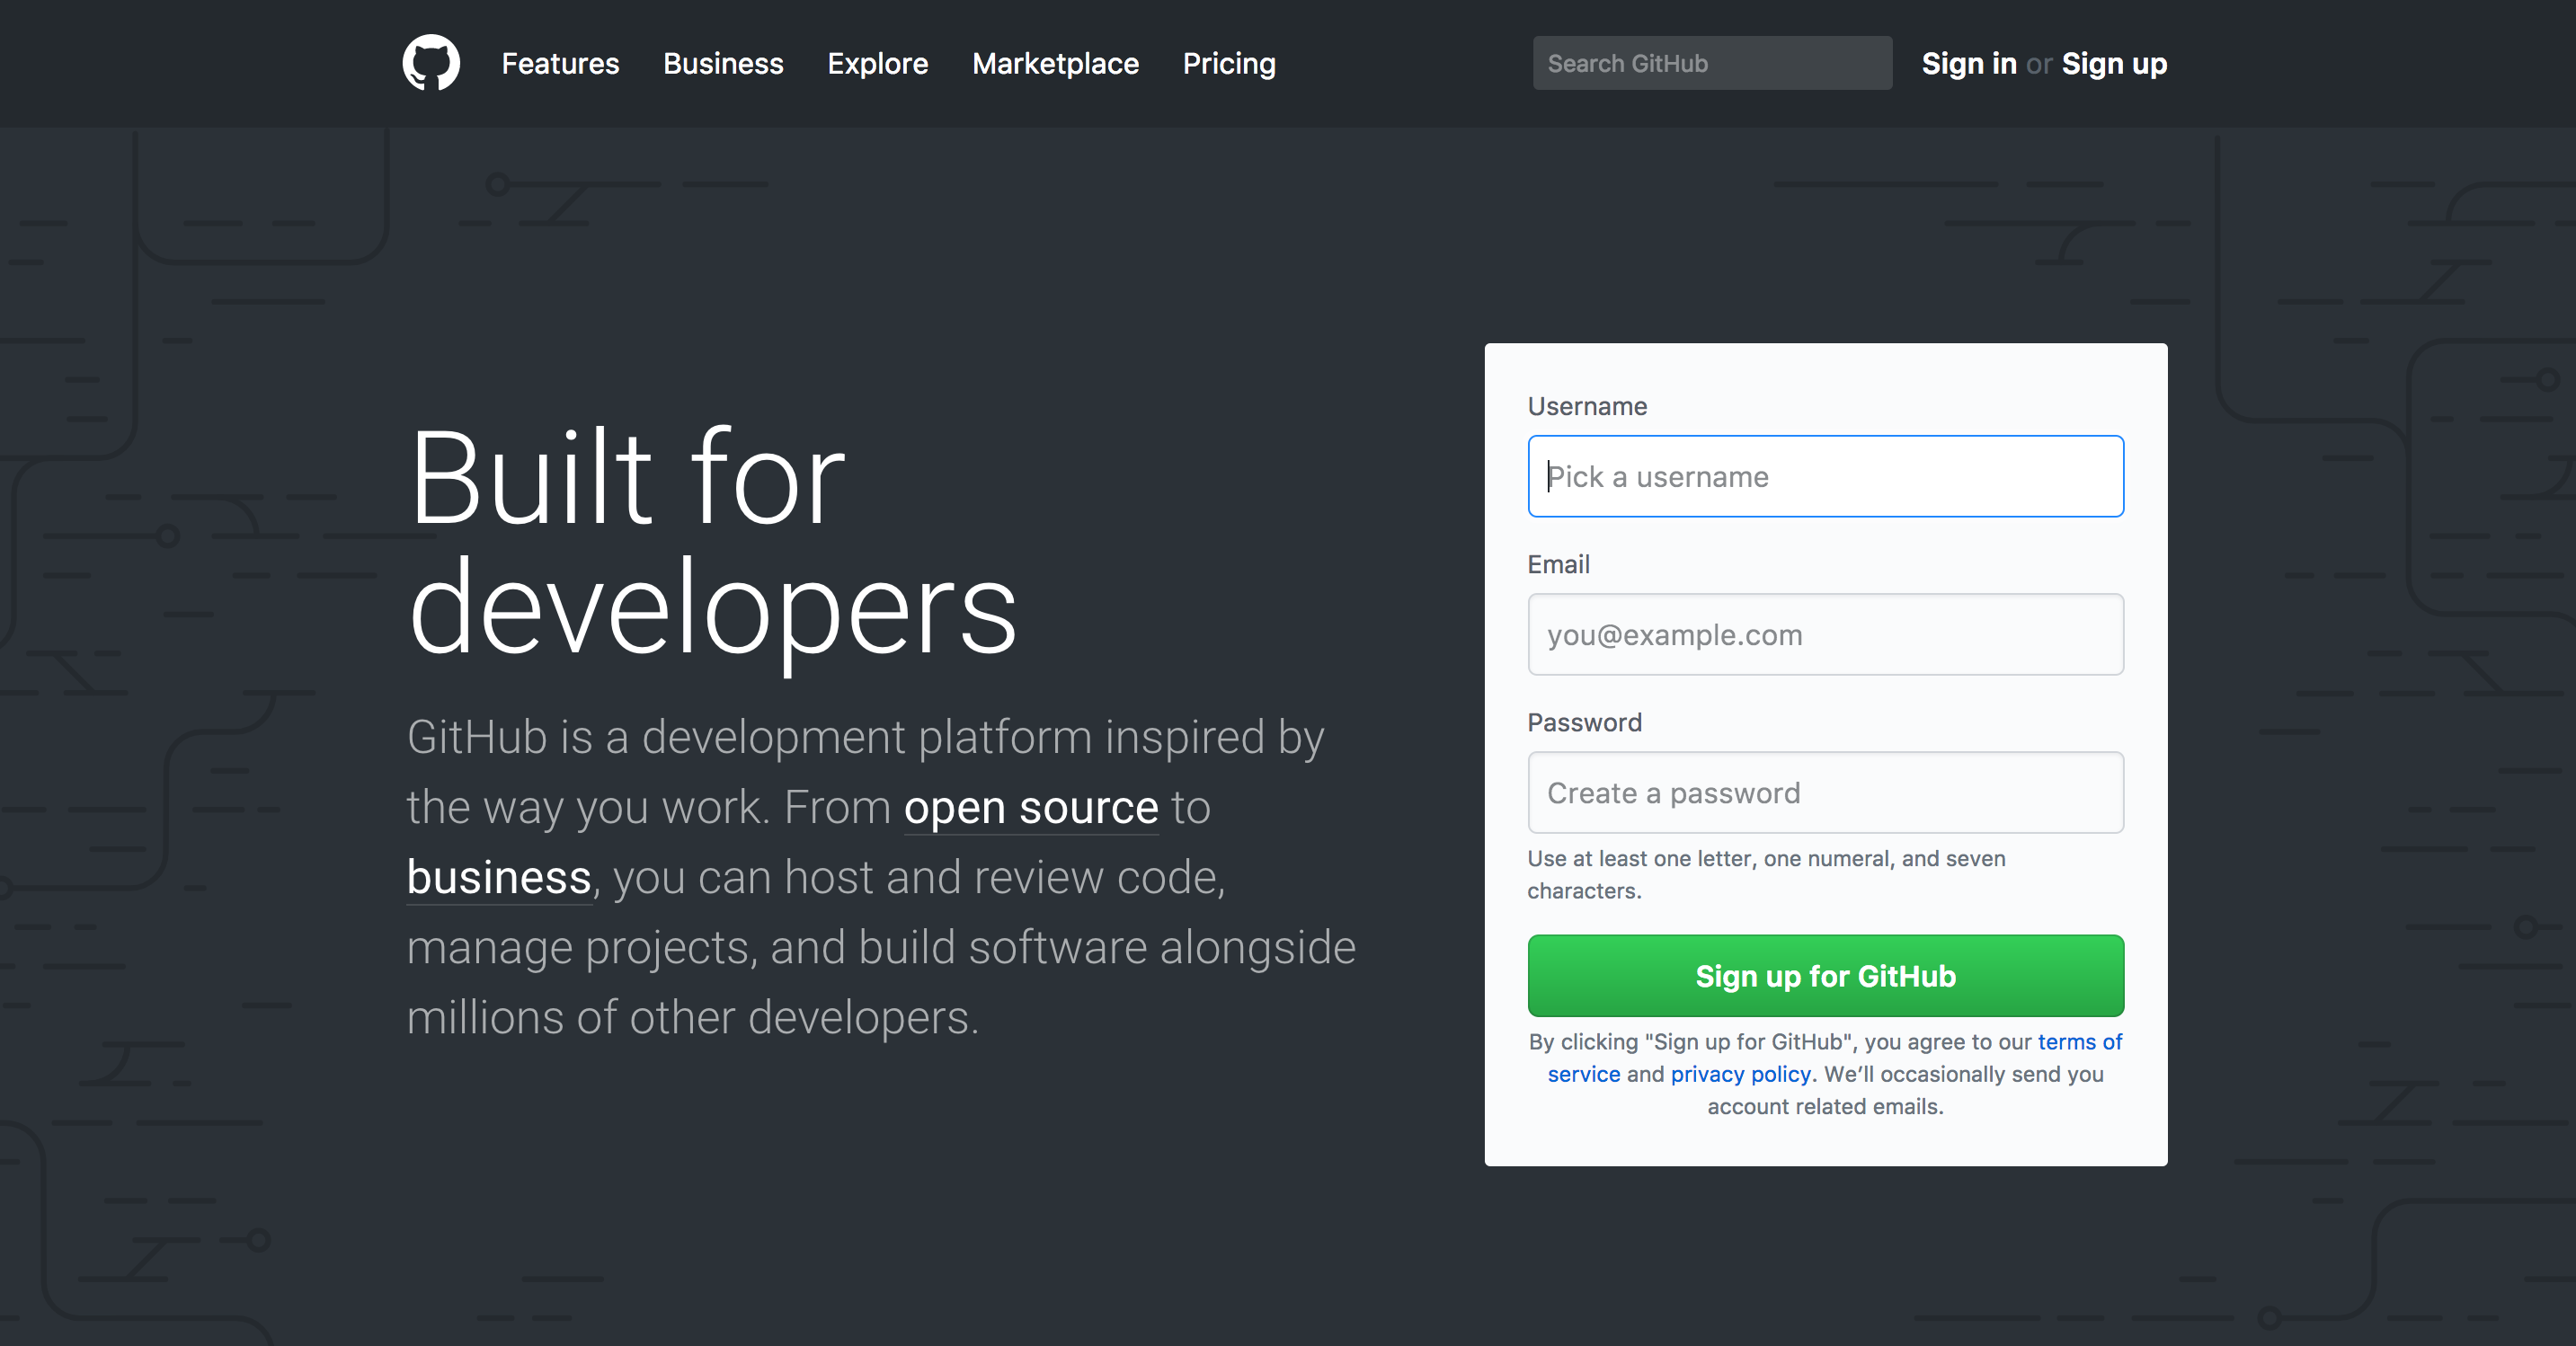
- Choose the free plan. No need to worry, GitHub is and will always be free.
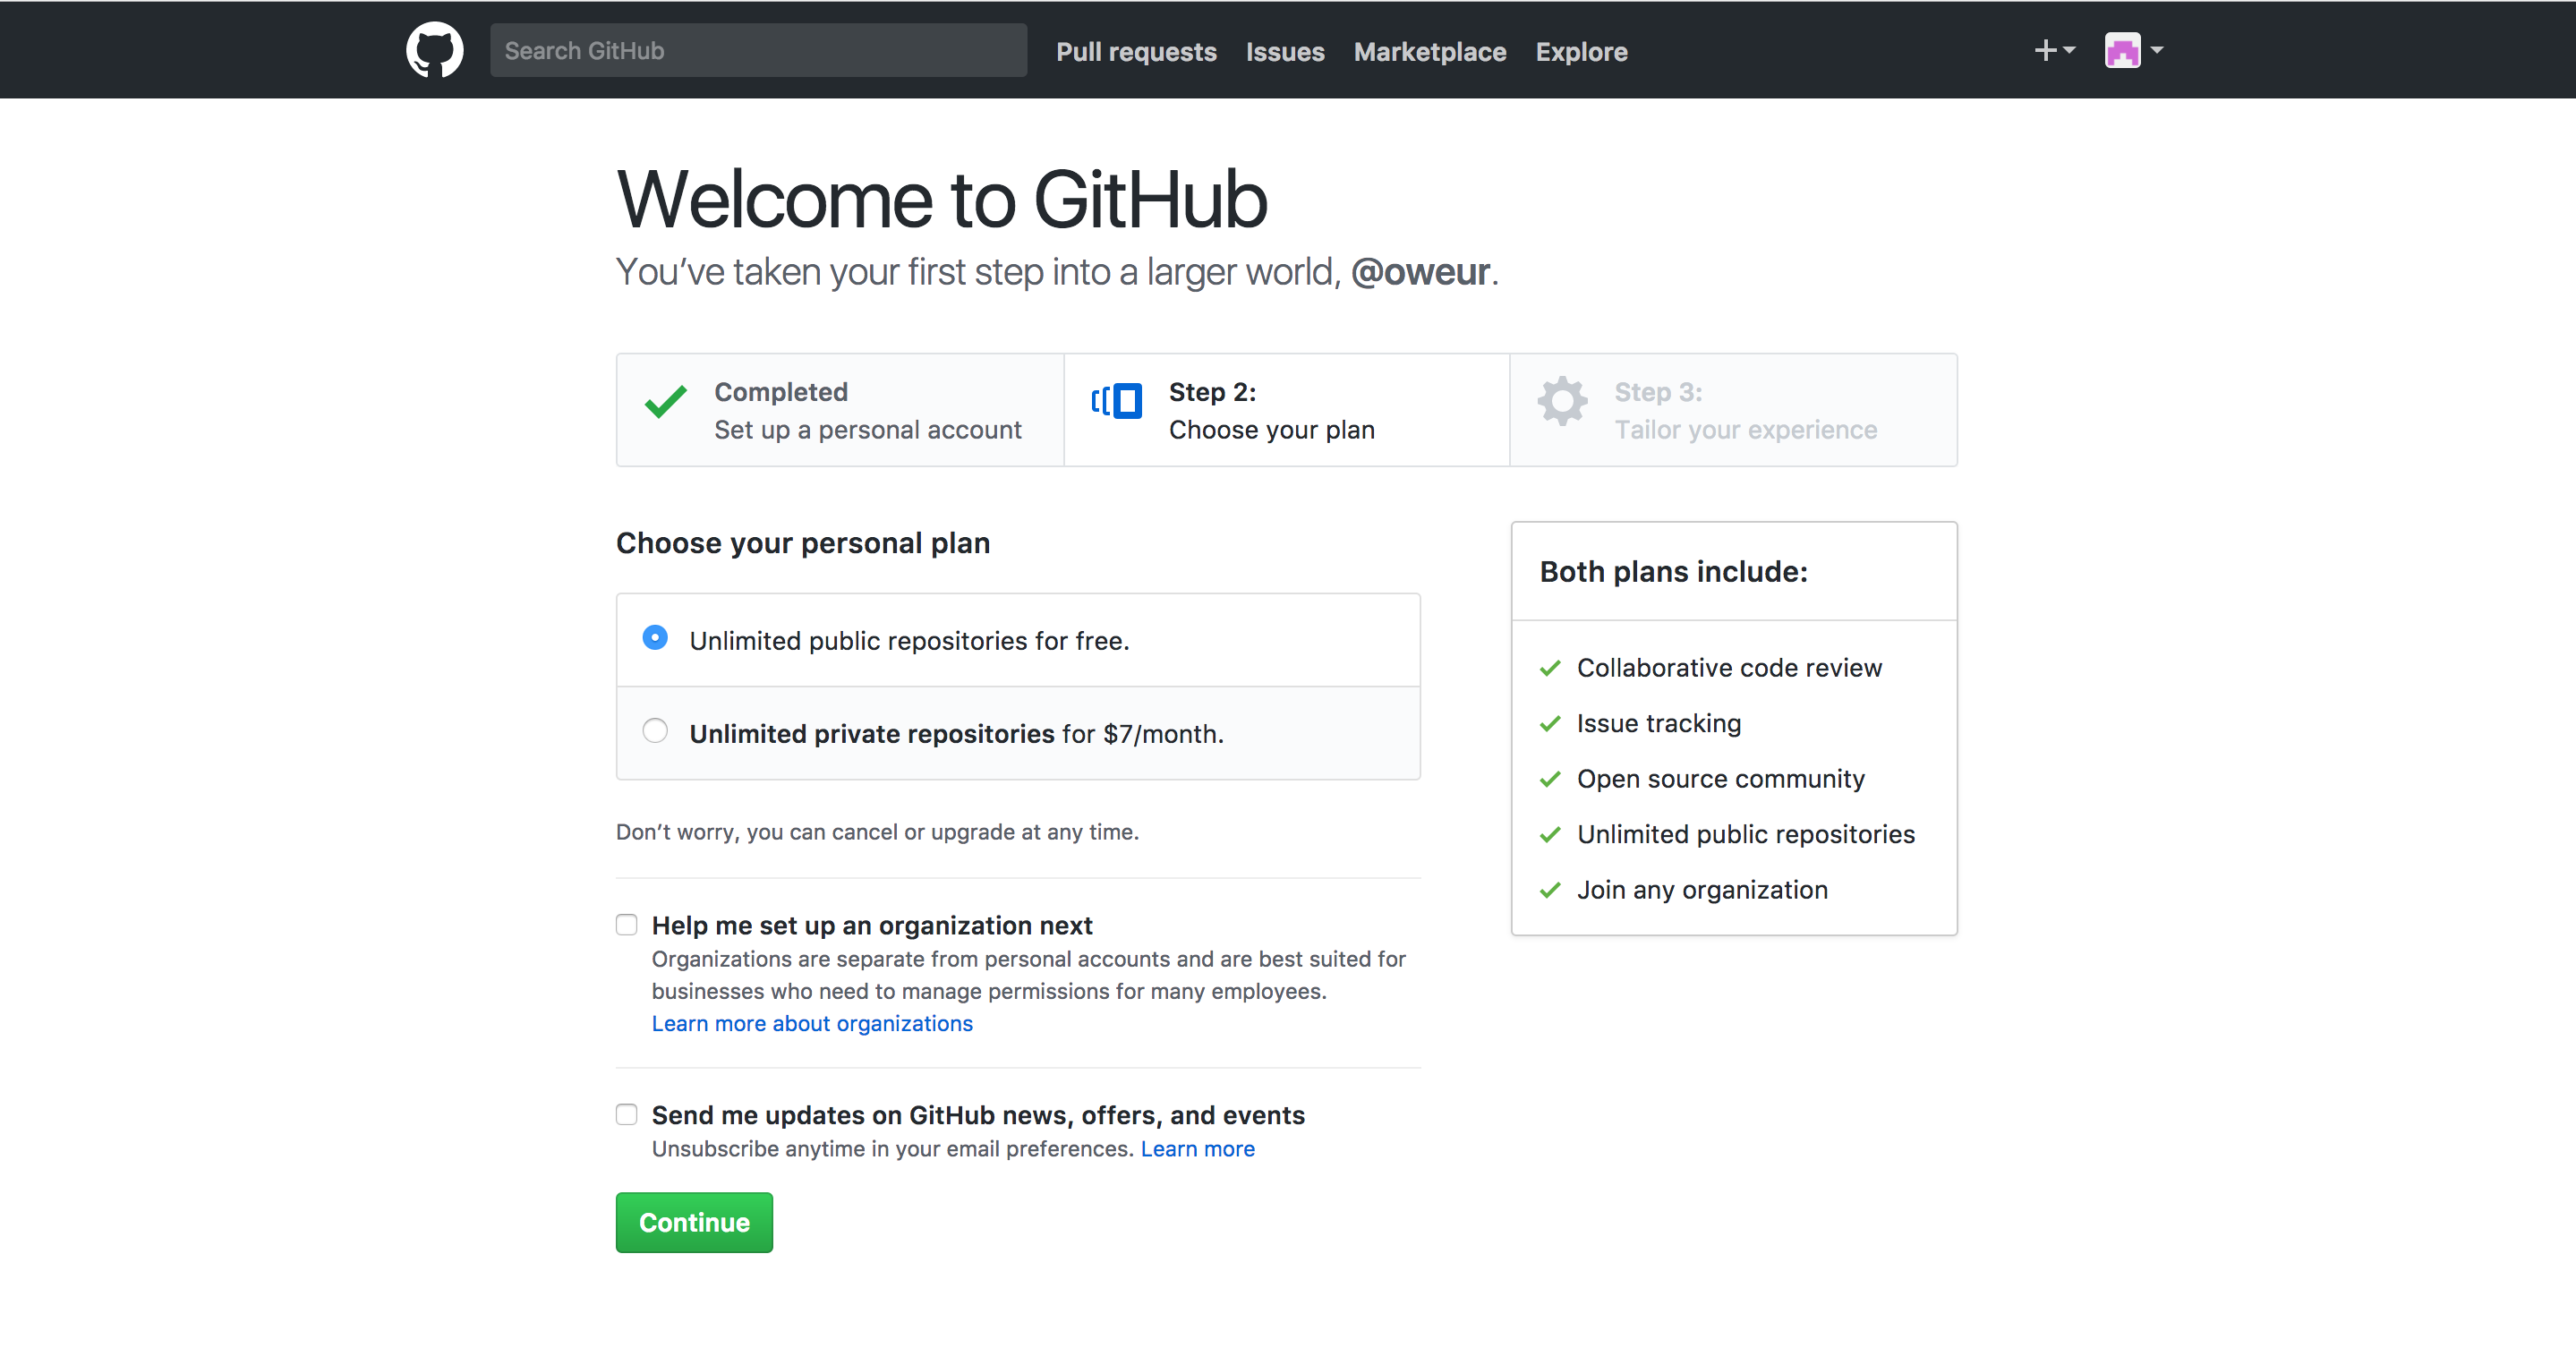
- You might need to verify your email address. Skip all other steps until you reach this page:
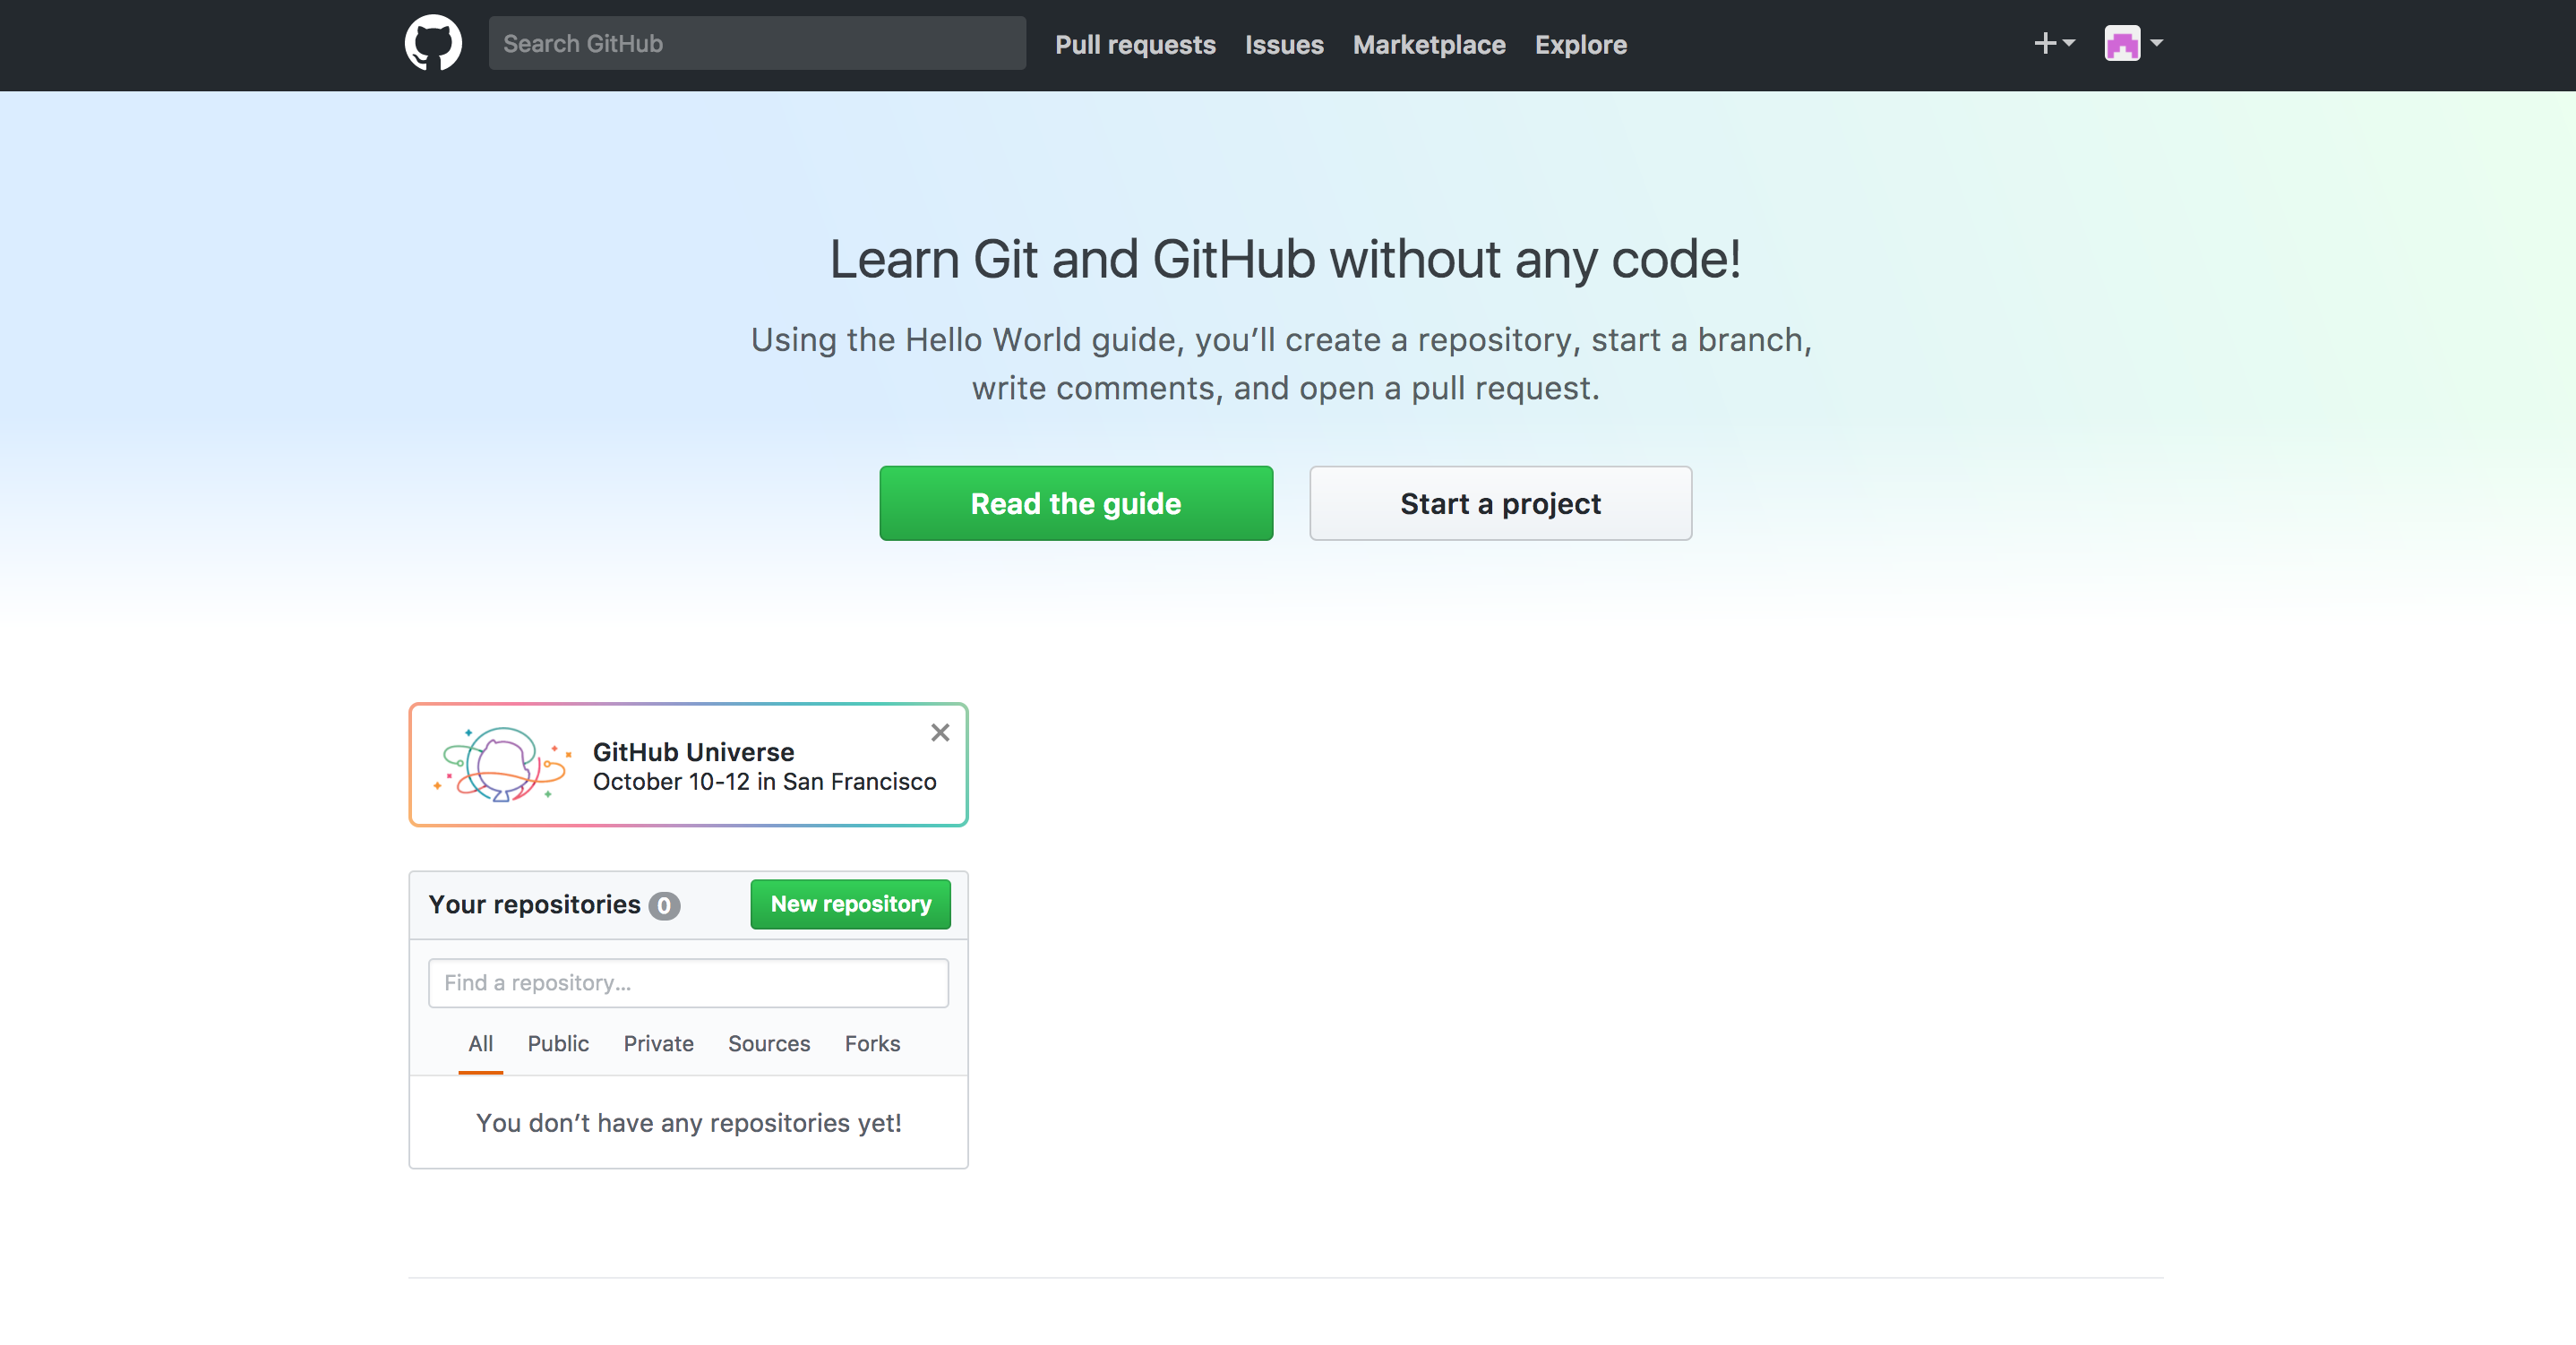
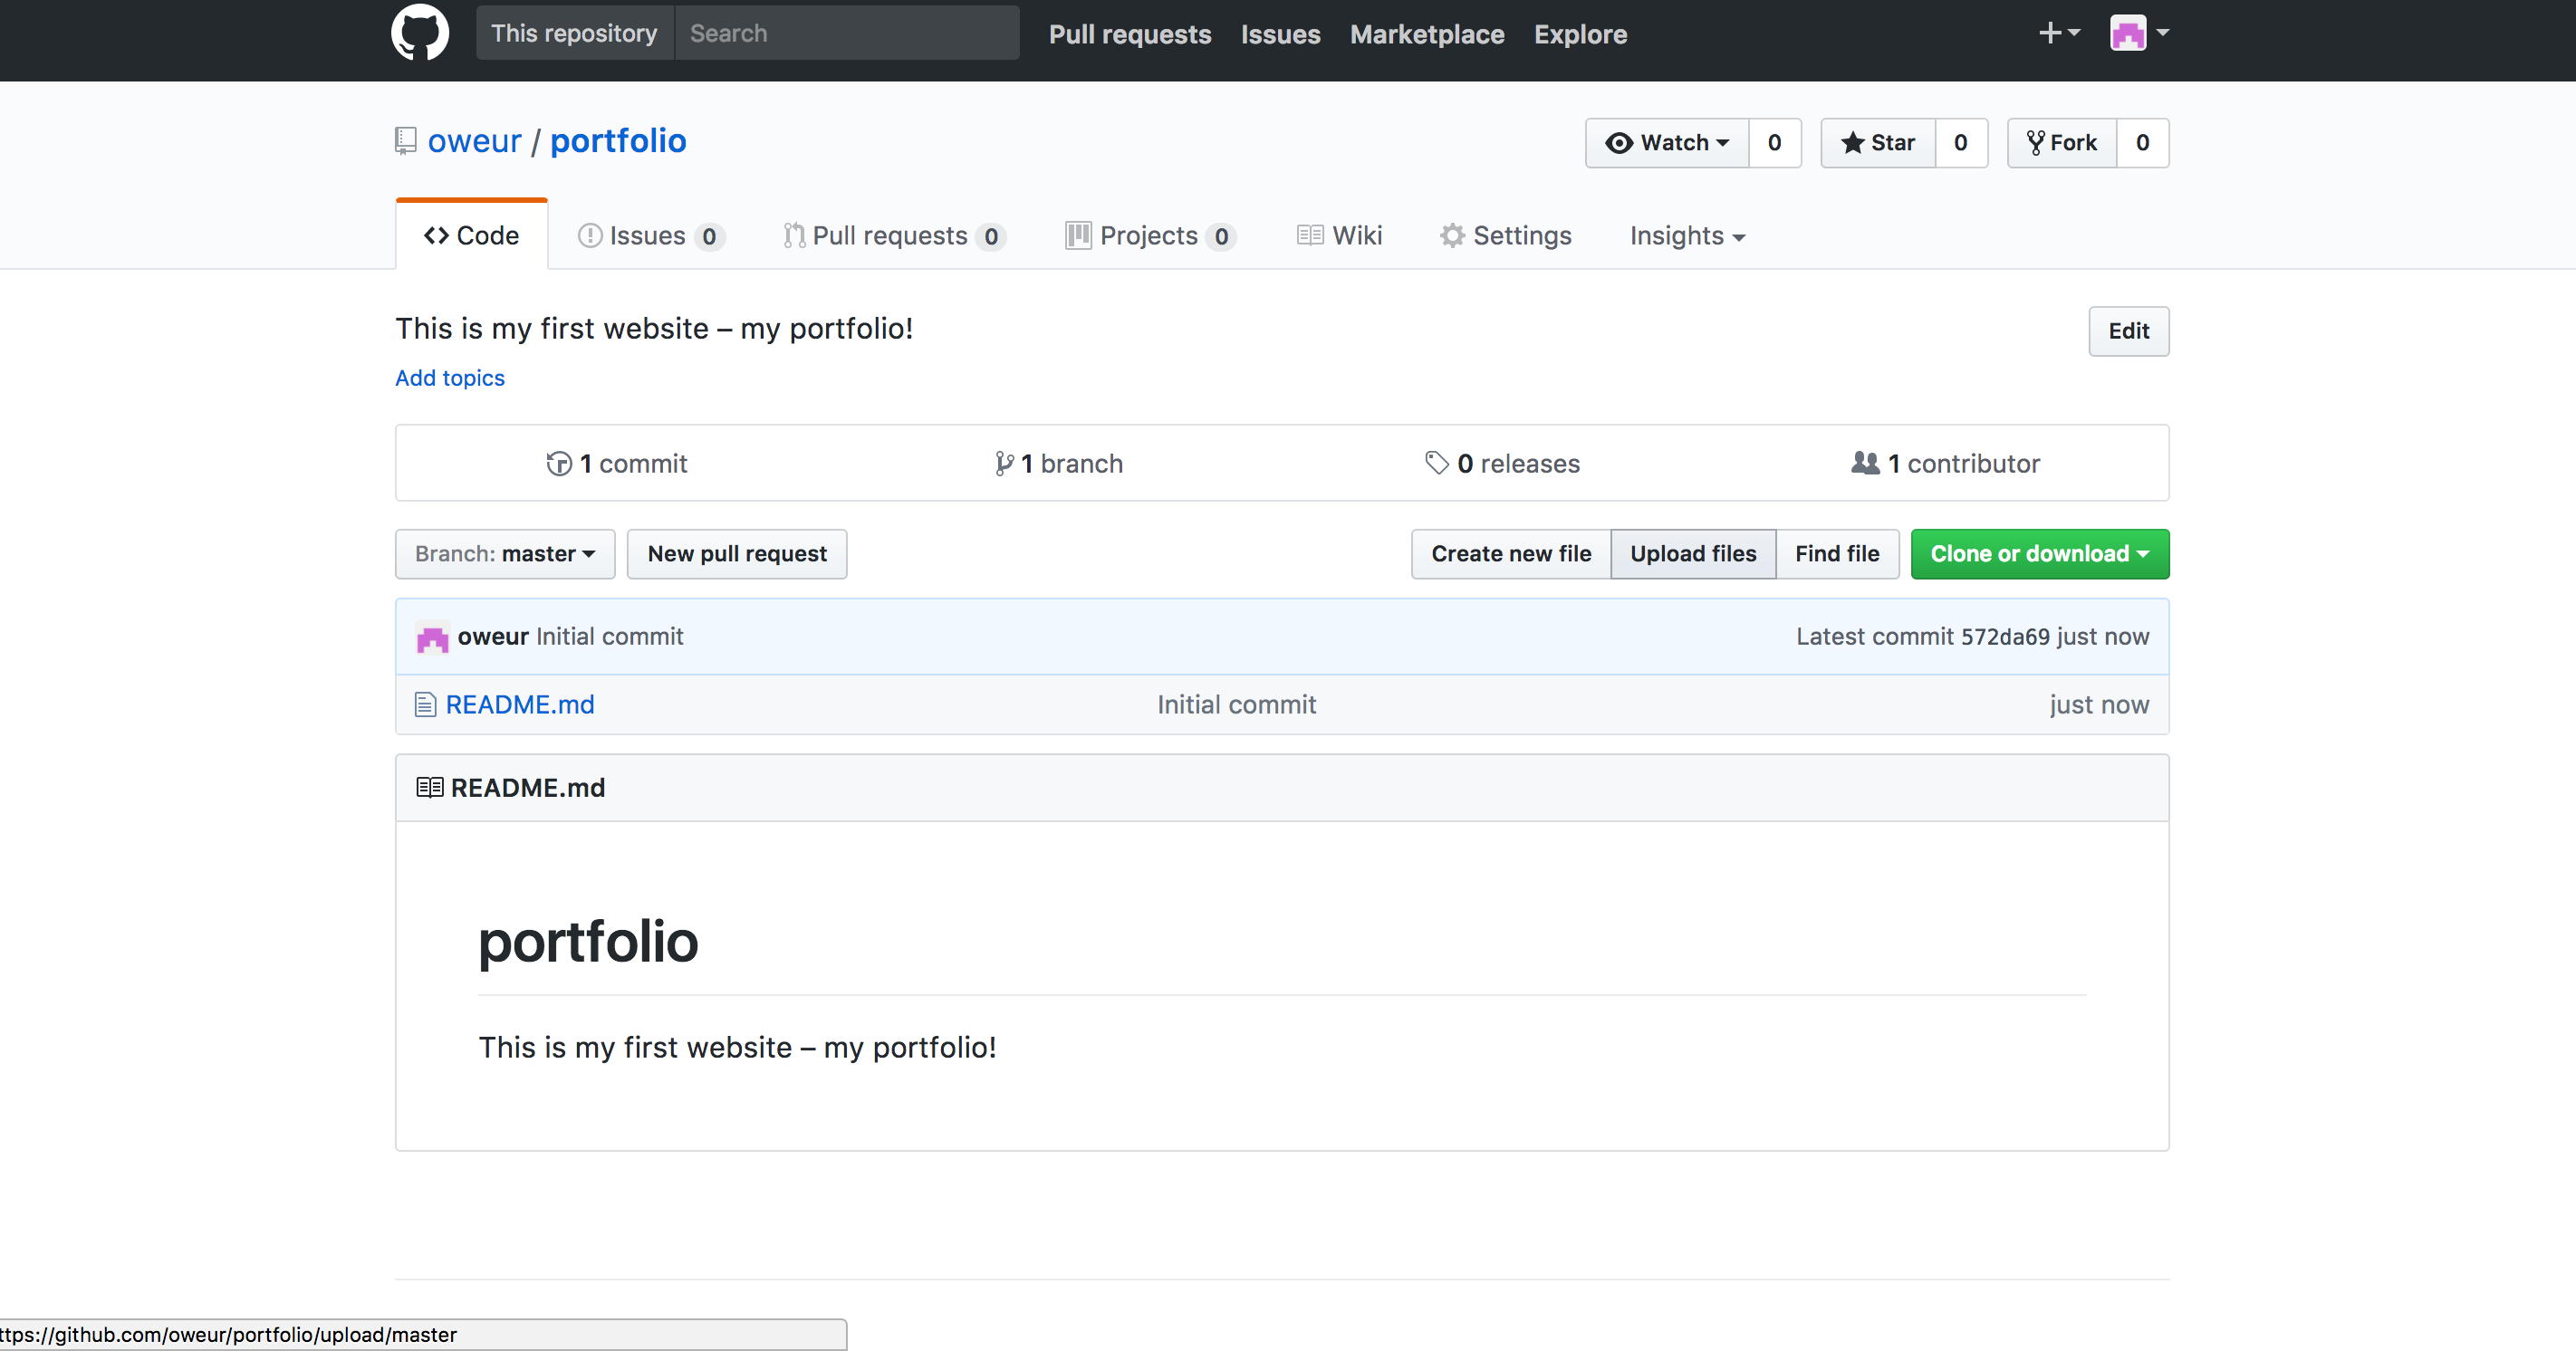
- Time to start your first repository. A repository is a project in GitHub terminology. Click on the button “Start project”. Add a name to your project, a decription and make sure to tick the “Initialize this repository with a README”. Click on “Create Repository”.
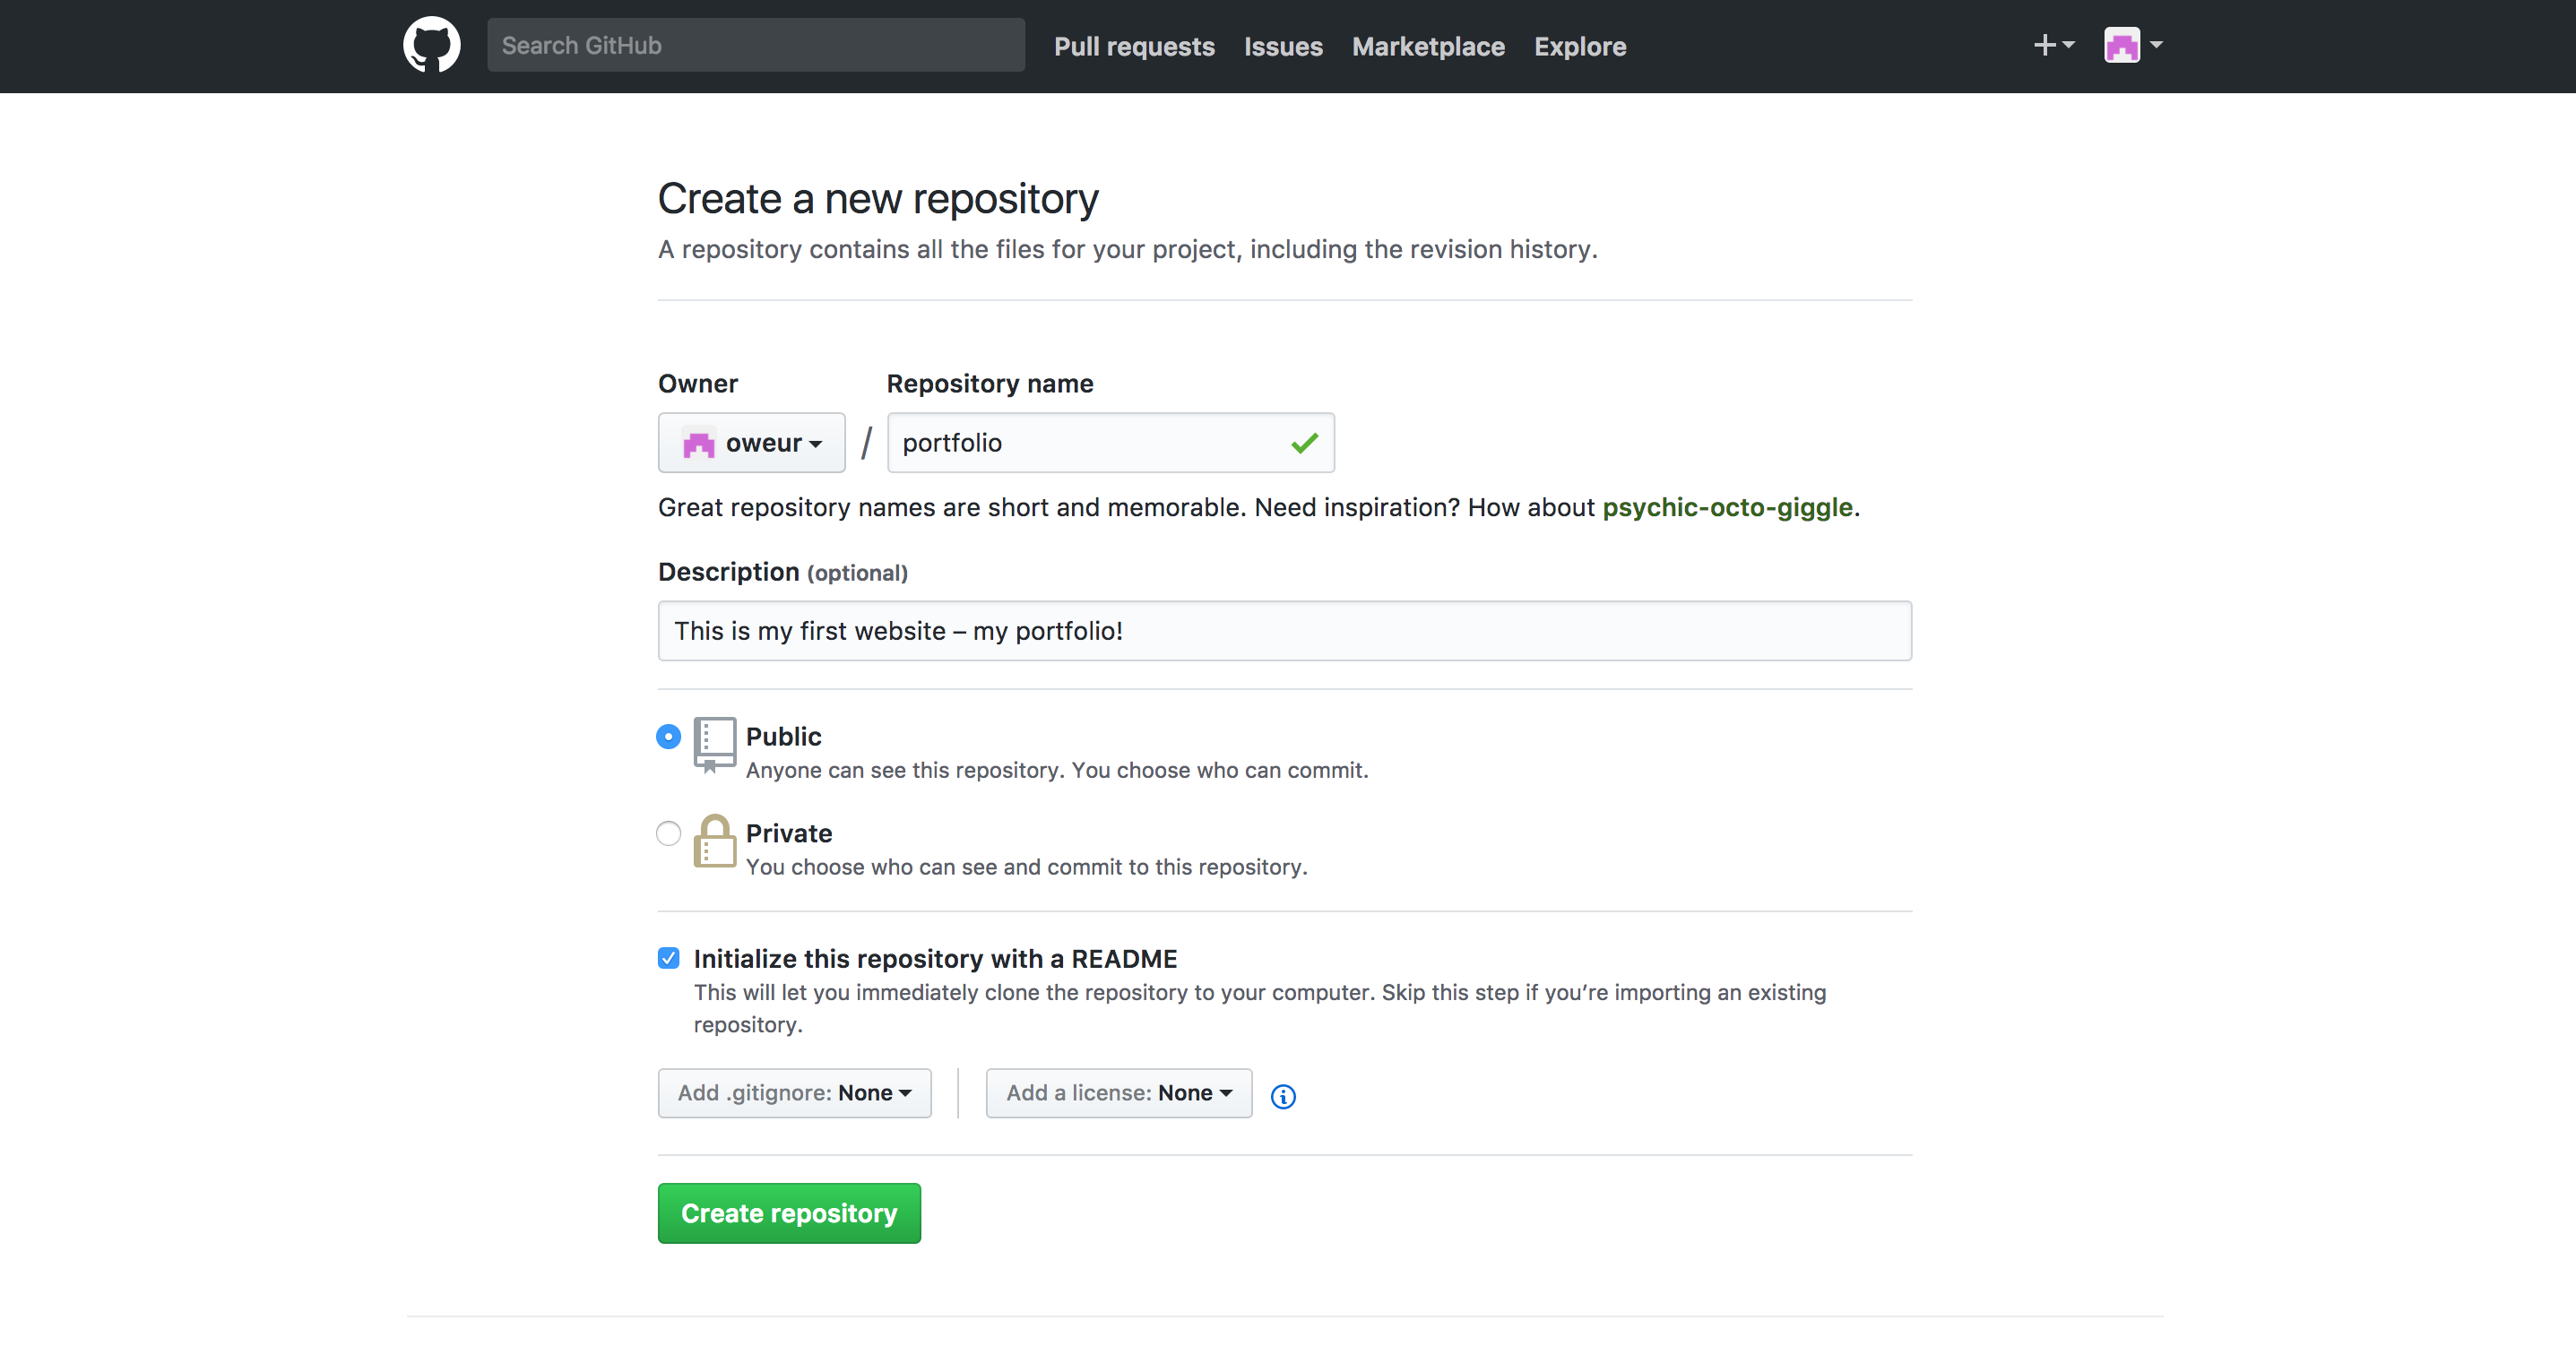
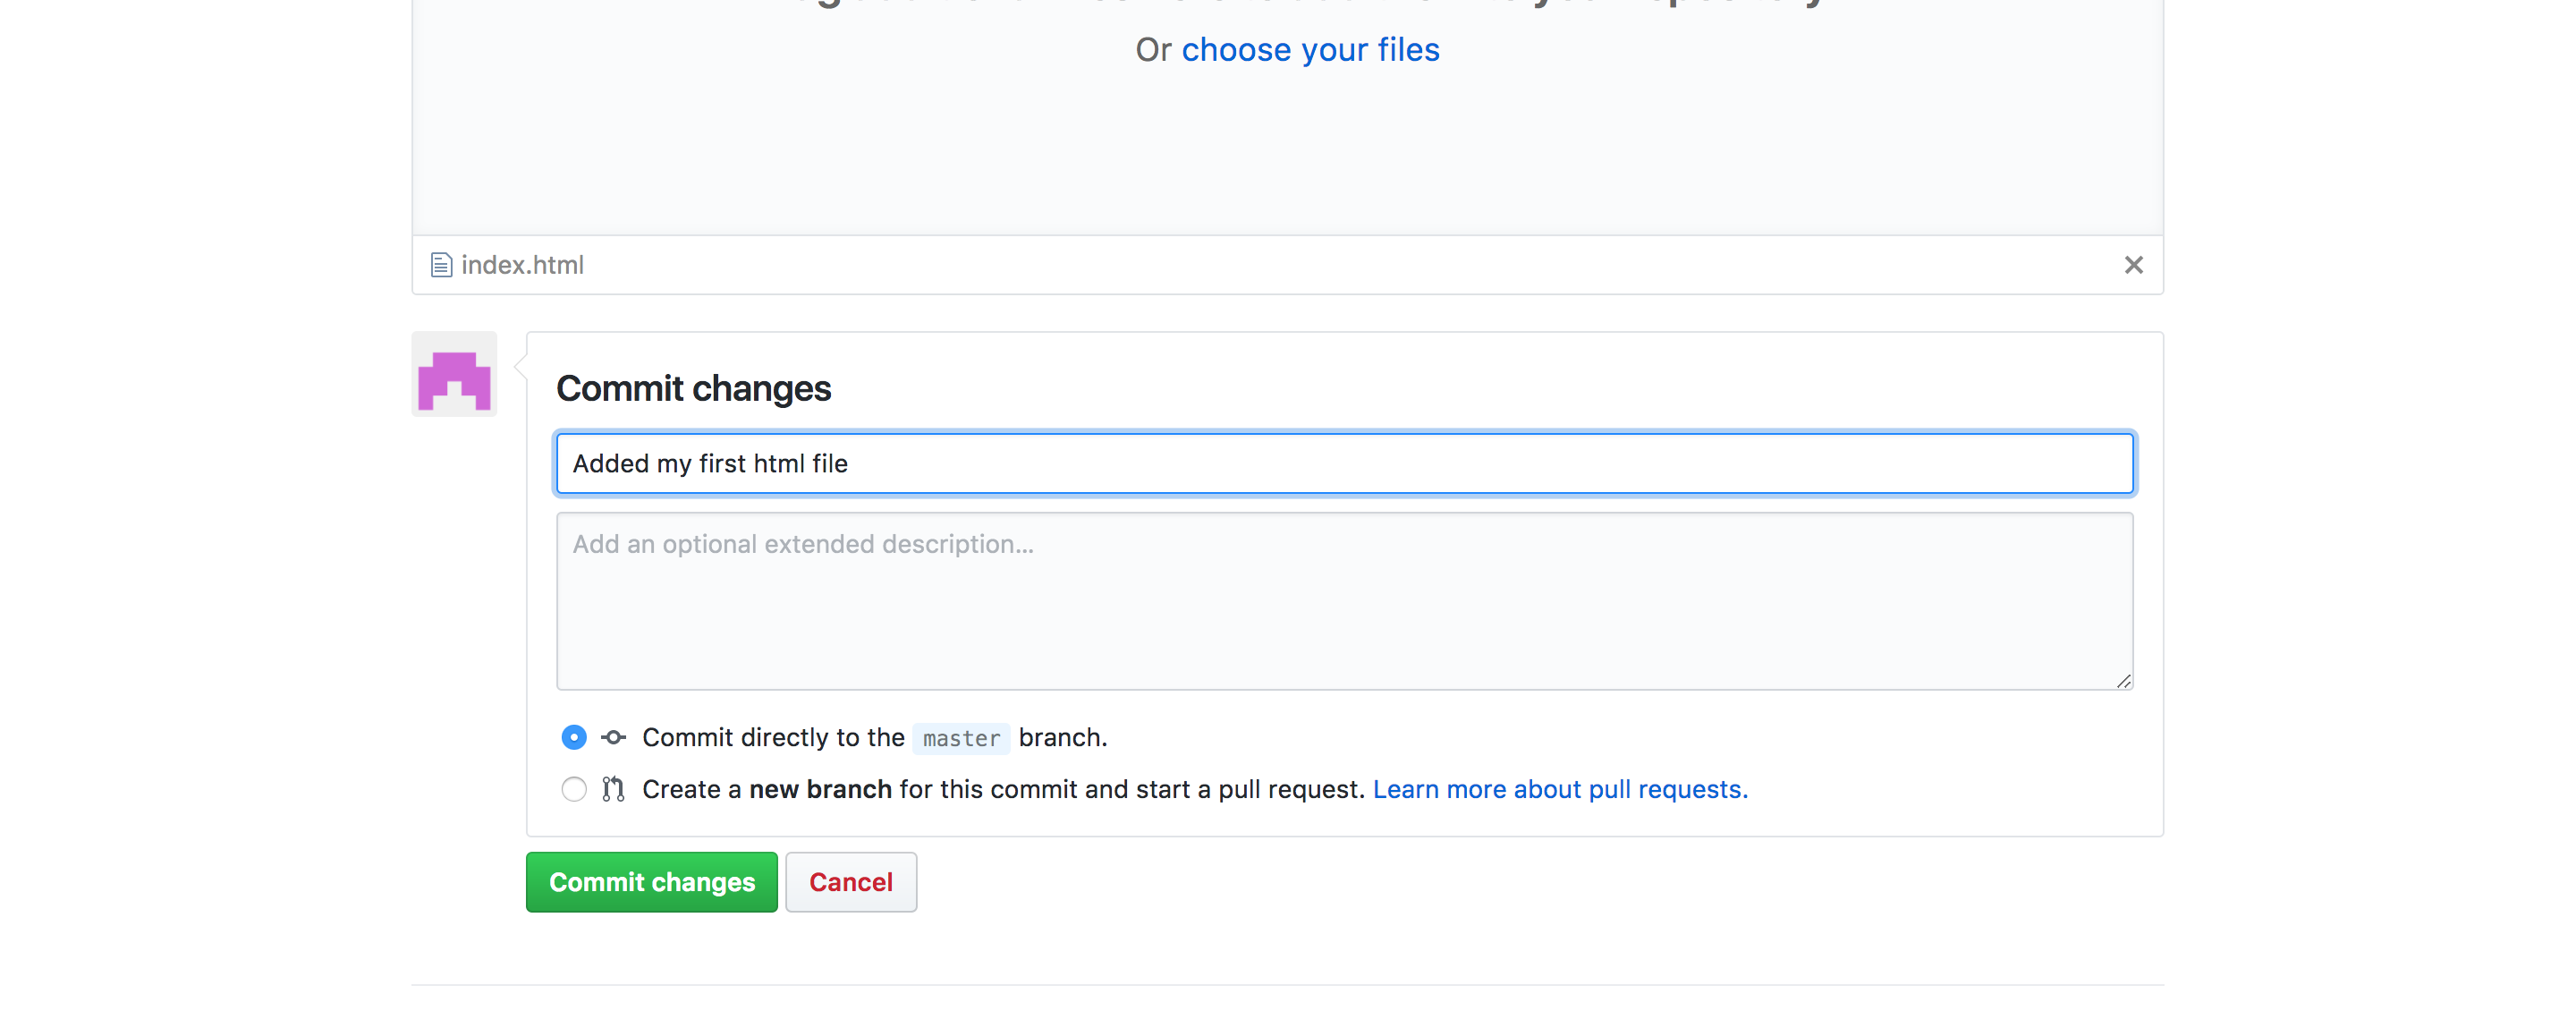
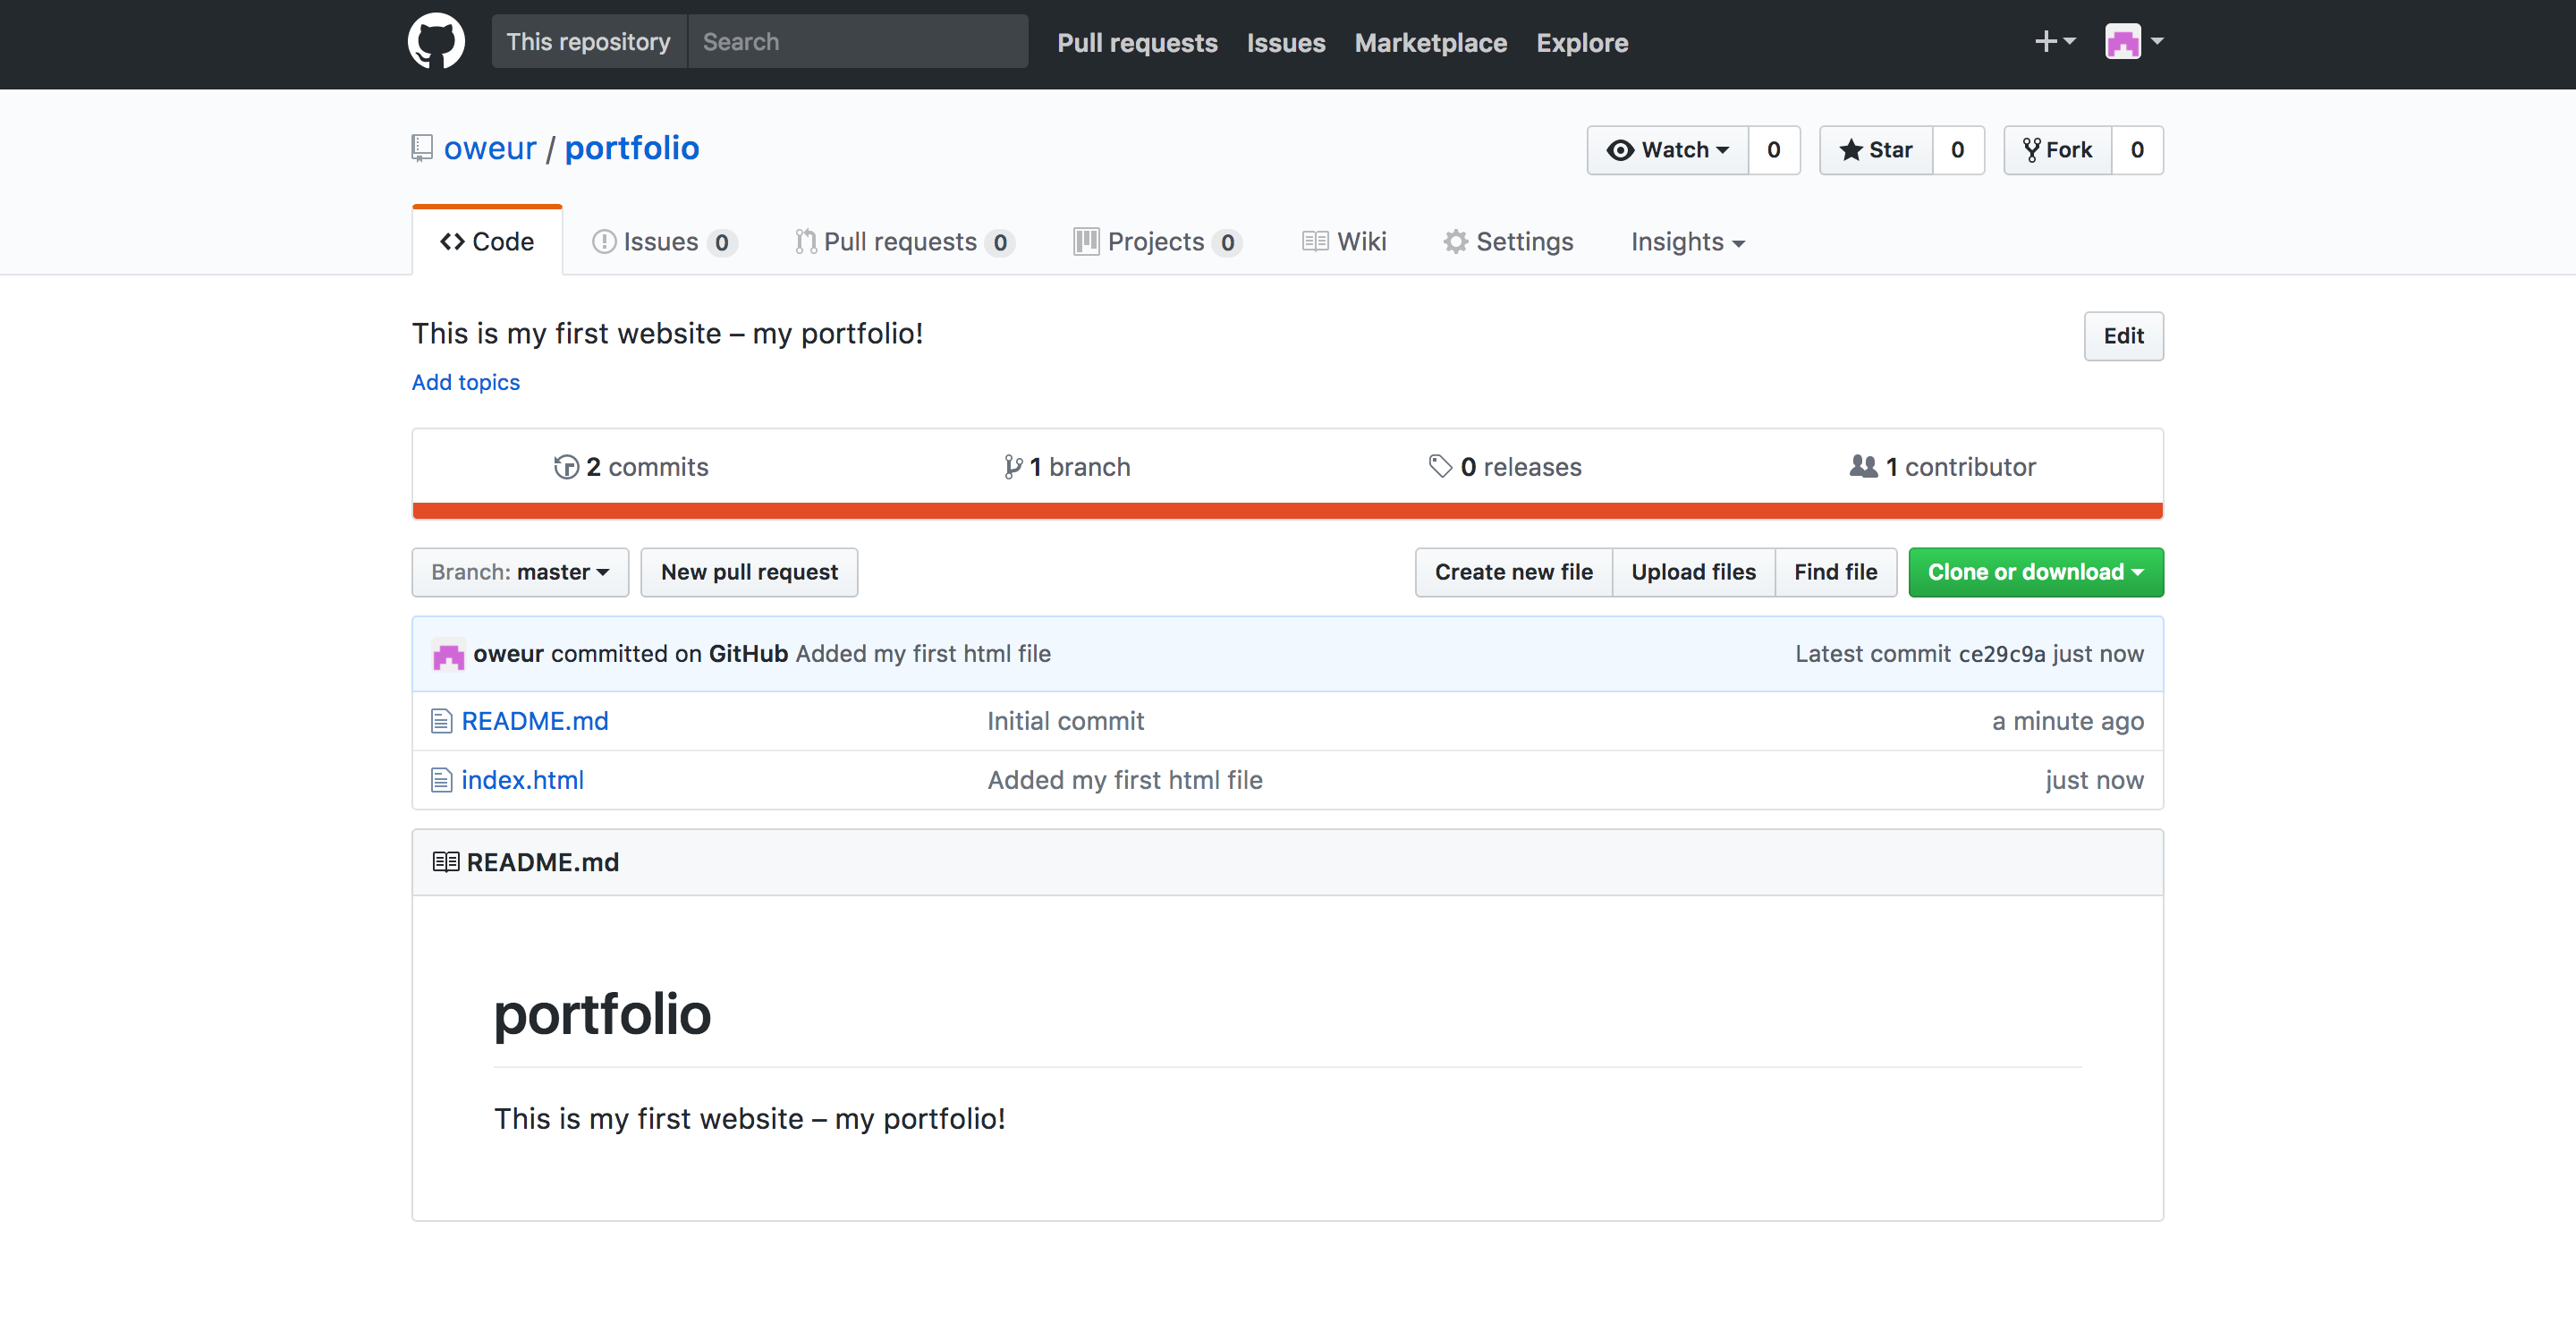
- Click on upload files and upload your index.html file you have created. To save you need to make something called a “commit”. Good practice is to decribe what you are uploading so that it’s easier for you in the future to keep track of you versions – if you want to make changes to your file later.
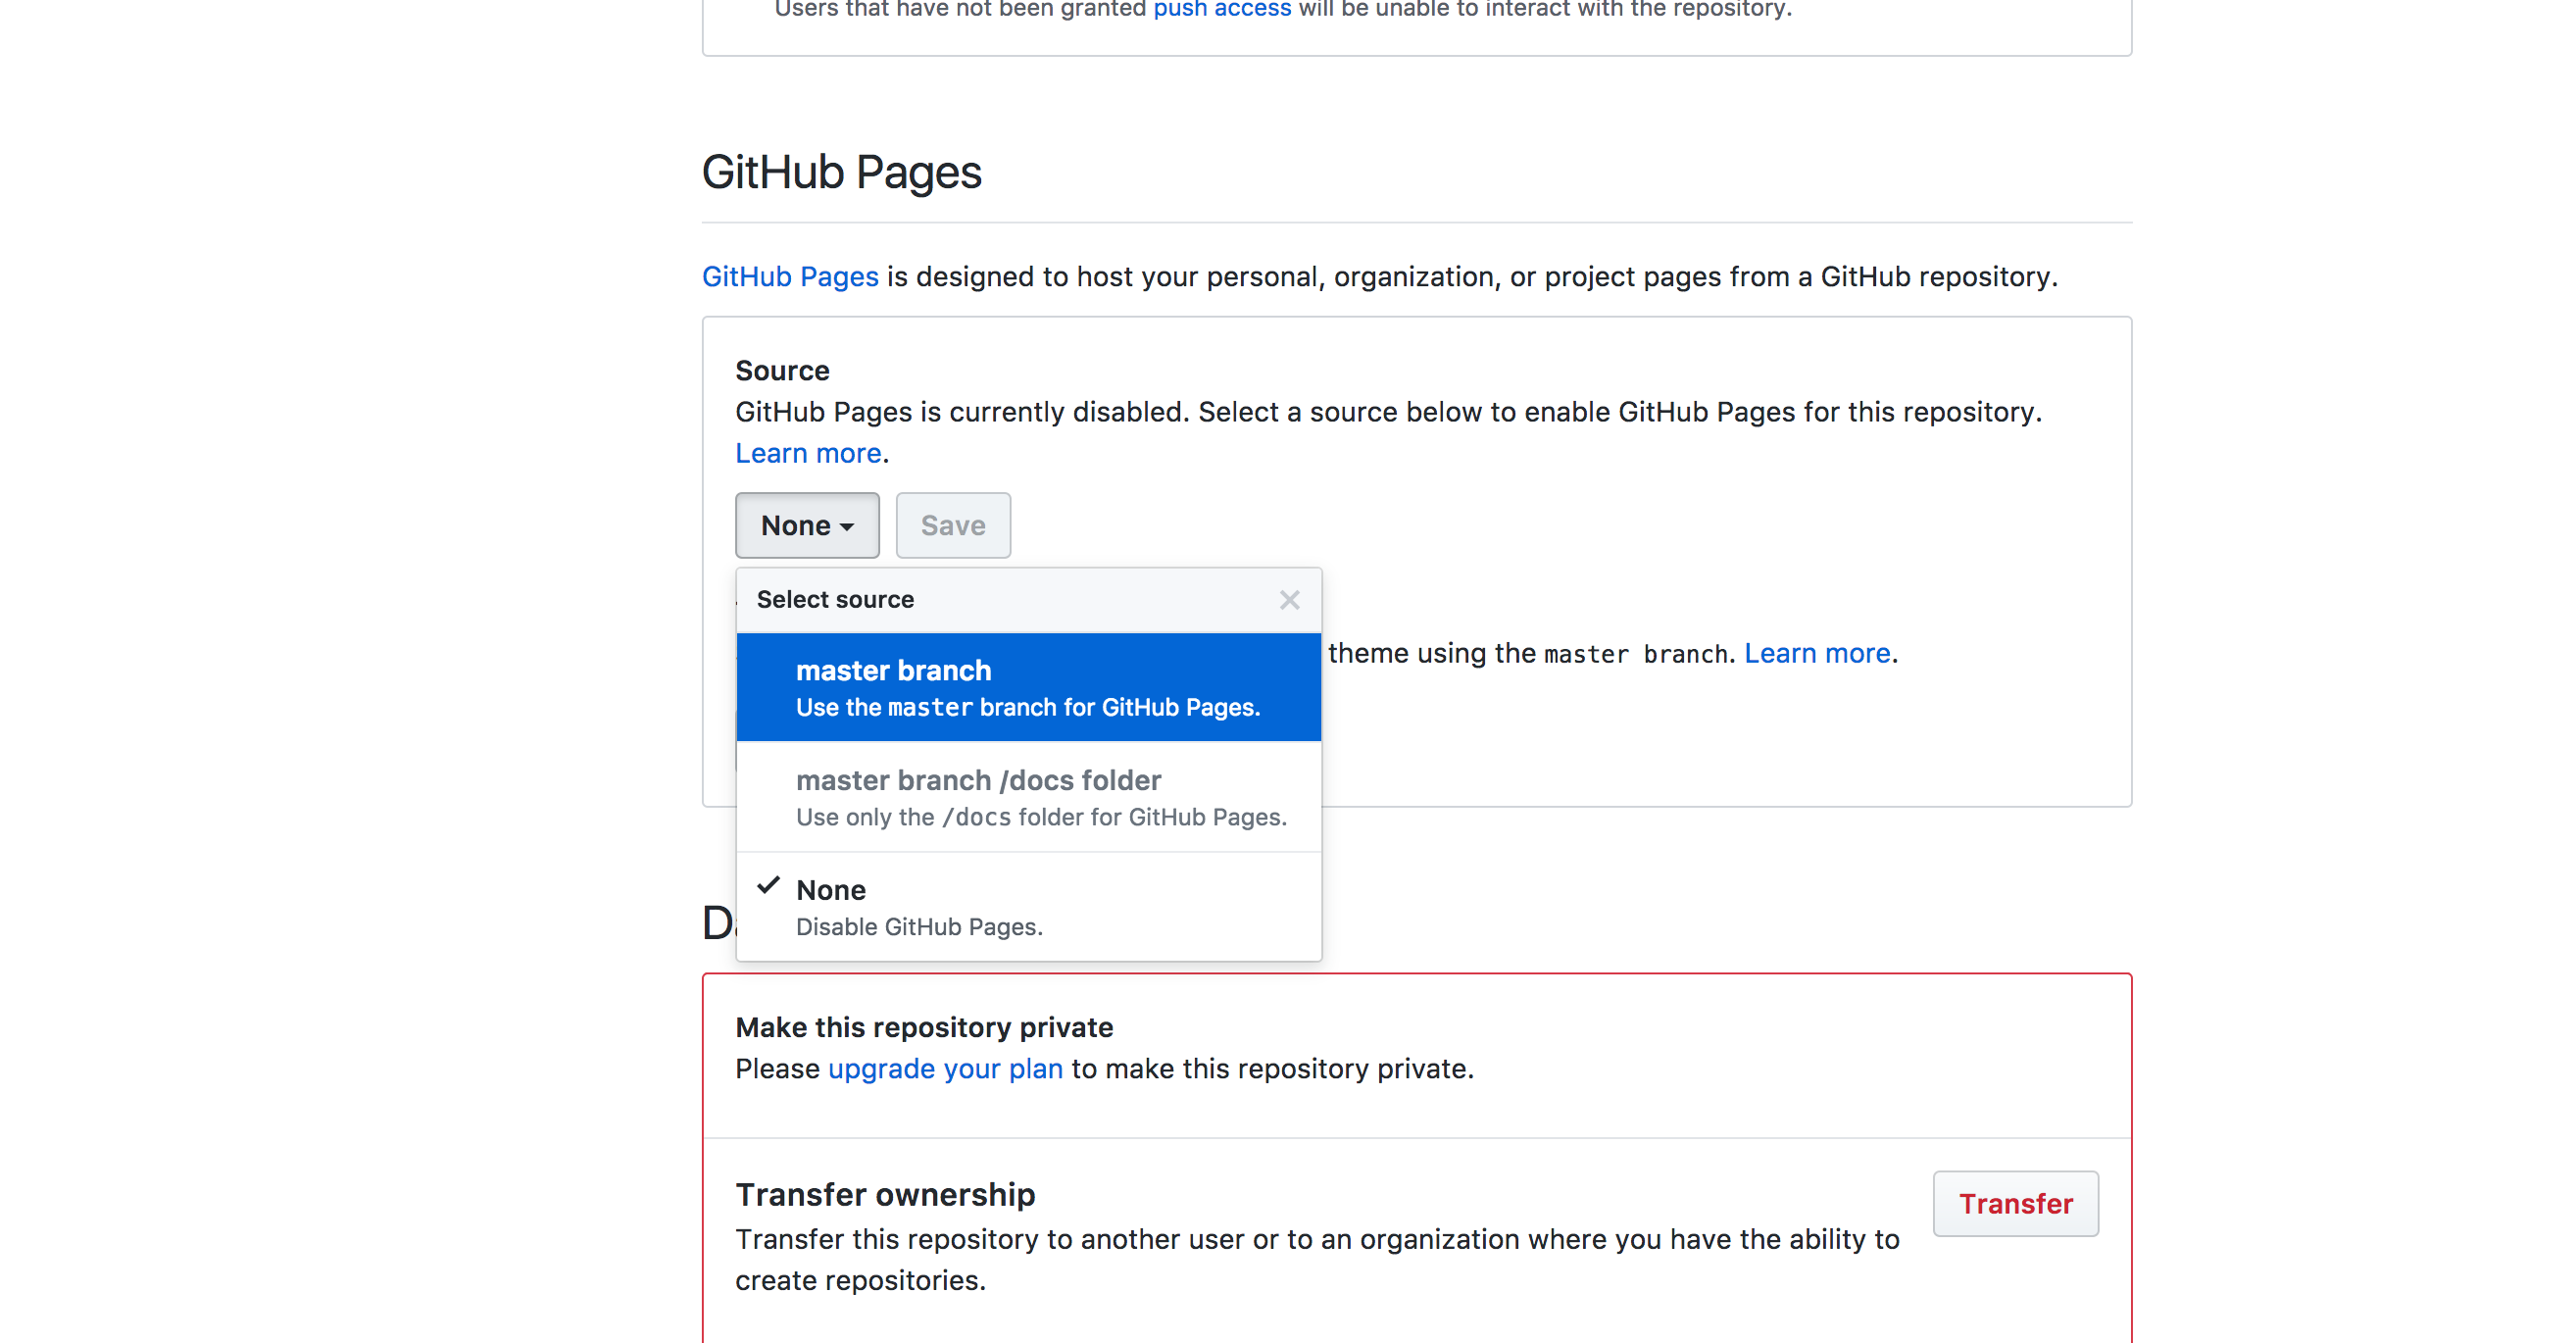
- Now you should see your file being uploaded. Go to the settings page and scroll down to the GitHub Pages section. Choose “Master branch” and save.
- If you reload the page GitHub will now give you an url where your site is published on. Go and check ut out!