HTML – Hyper Text Markup Language
Part 1. Setting up your coding environment
1 - Go to the website Codepen.
CodePen is a social development environment for front-end designers and developers. We will be using this site to program today instead of downloading a text editor to your computer.
2 - On the top navigation bar click on the button Create and then choose New Pen. You will probably see a screen like this.
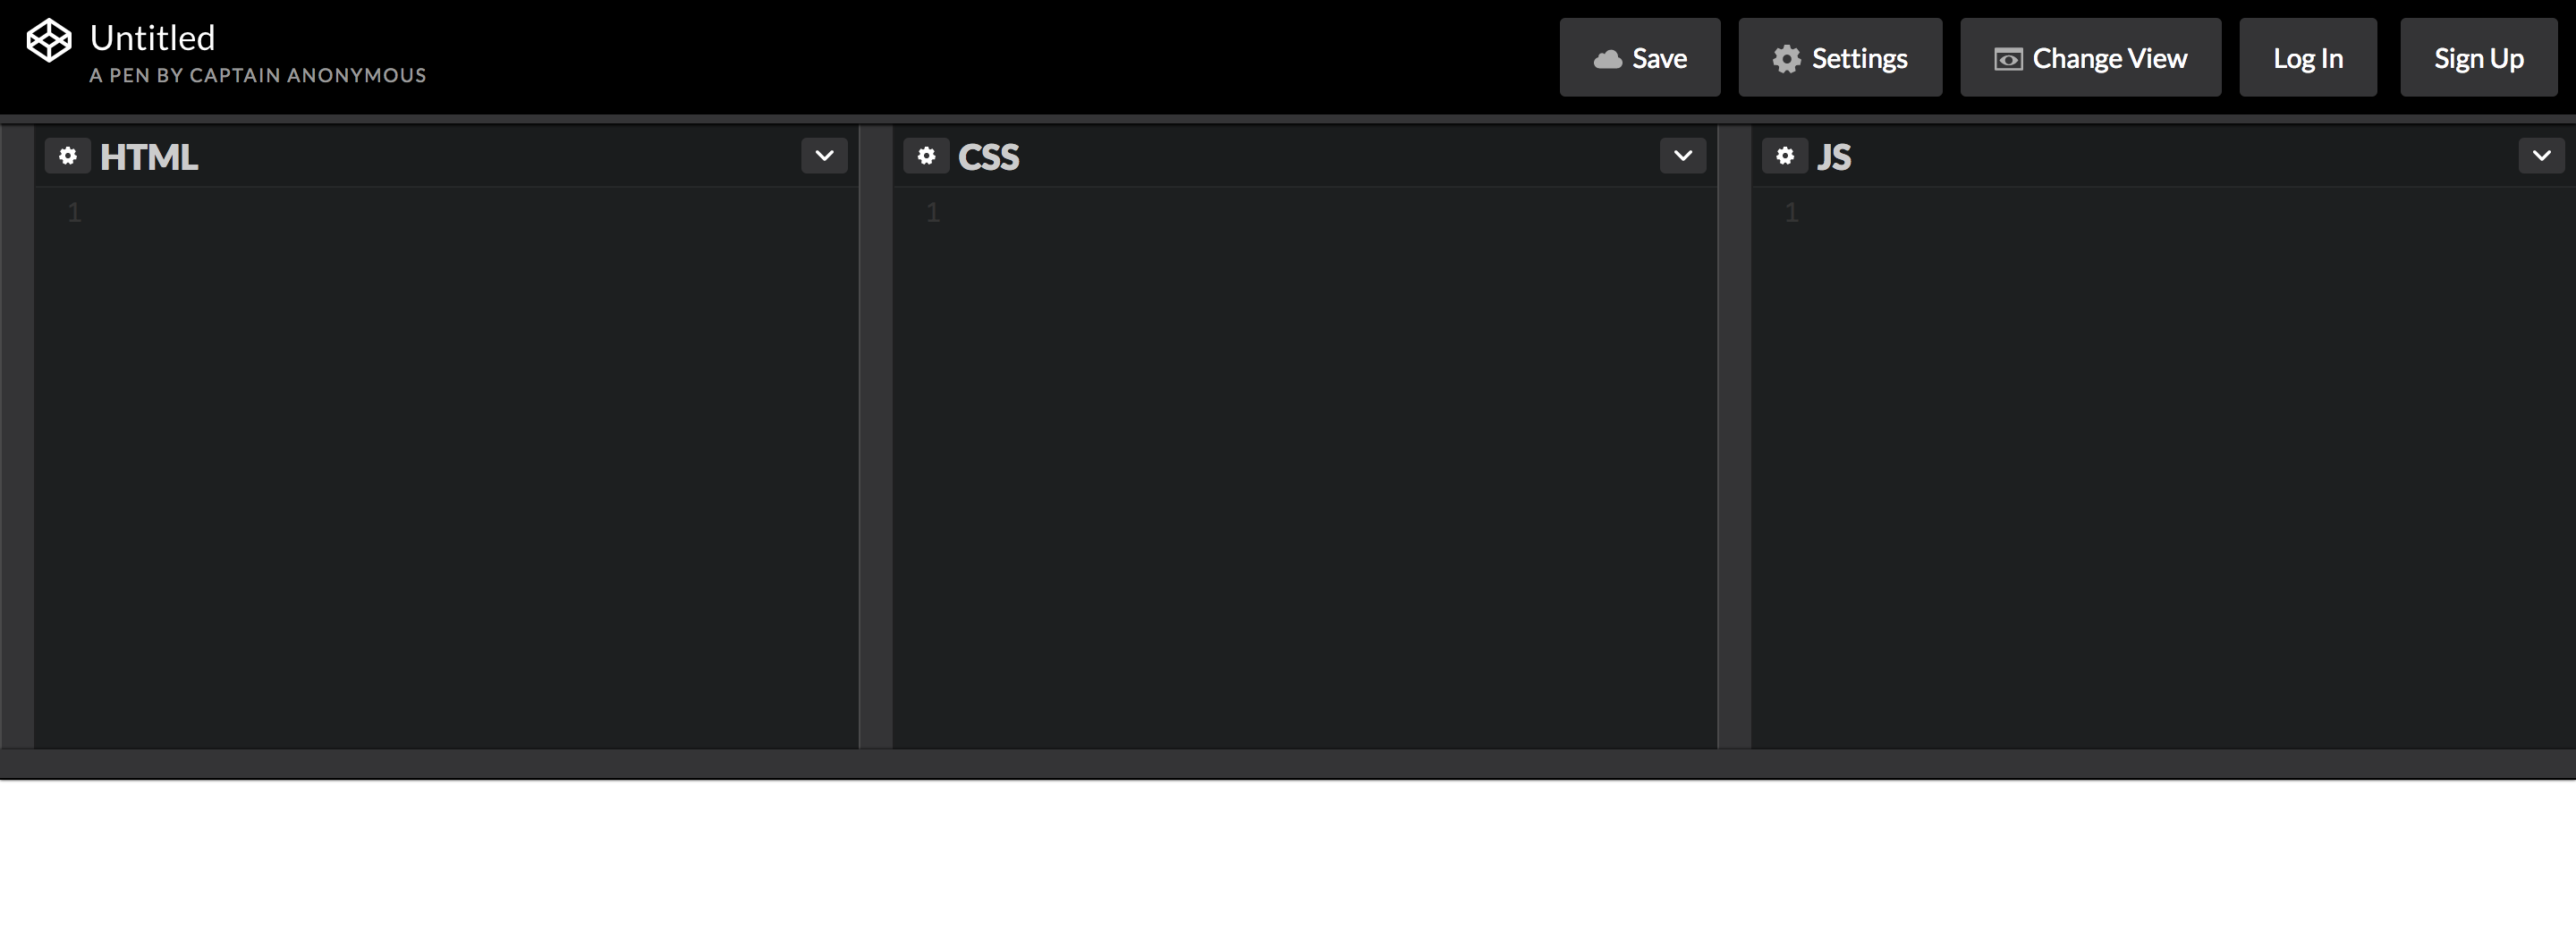
3 - Click on the small arrow right next to the JS view. Choose Minimize JS editor. The screen will now only contain two different views - one for HTML and one for CSS. Now we’re ready to code!
The JS view we’d just close is a window for writing Javascript code. We’re not going into it in this course, but if you want to read up you can go to click on this link.
Saving. Codepen doesn’t save your code on default. You can create an account and then save. If you don’t want to make an account, open “Notes” on your computer and copy all of your code into that file, save the file and name it to index.html. You will keep working in codepen but just make sure to make a copy of your code every now and then so you don’t accidentally loose all your code if you for example close the tab.
Part 2. Your first lines of code
1 - Create six different headings in HTML using <h1> to <h6> tags.
The HTML <h1>–<h6> elements represent six levels of section headings. <h1> is the highest section level and <h6> is the lowest.
2 - Within the <h1> tag write the name of your store. Within the <h2> tag write the description. Within the <h3> tag write contact inforamtion. The other headings are optional.
<h1>Name of store</h1>
Good job, you just wrote your first lines of code!
3 - Continue with creating three text paragraphs. One of the paragraphs should contain a short text about the furniture you are selling.
<p>Each product is handcrafted in a process that takes up to 2 weeks.</p>
Focus on the code - the text can be changed on a later occasion.
4 - In one of your <p> tag, see what’s happen if you put <em></em> around one word?
<p>A short <em>text</em> about myself</p>
5 - Try using the <strong></strong> tag around another word - is the result the same as before?
Part 3. More useful HTML elements
Assignments - divs, links and images
1 – Add a link, <a> to LinkedIn or any other page that you like.
<a href="https://www.my-link.com">My link</a>
2 – Try and add an image to your HTML-document. Let one of the pictures be the one you would like to later use for your web site by using the <img /> tag.
<img src="source-to-your-image"/>
Images online is a little tricky. They also need to be online to be able to use them. If you search for an image on Google your can choose “View image”. Then right click on the image to find the actual url (address) to the image.
3 – Create a <div> and move your <h2> tag inside of your <div>.
<div>
  <h2>My title</h2>
</div>
The HTML <div> element is a container for content and is often used to group different content to sections. This makes it easier to style them later.
2 – Add a link around your <h2> tag.
<div>
  <a href="insert-your-link-here">
    <h2>My title/h2>
  </a>
</div>
Time to save. Open Sublime on your computer and copy all of your code into that file, save the file and name it to index.html.
Already done?
Extra Assignments
1 – Google is very important for developers, now let’s see how good you are at Google!
Google the <style> tag. What do you think we will use it for today?
2 - Google “html tags” to find lists with HTML tags to use. Try them out! Did you find any favourite?